

If you have ever watched my Instagram Stories, you’ve probably noticed that I wear my hair in a top knot almost every day. This was not always the case–as a matter of fact, I almost NEVER wore my hair up until Charlie was born! But, keeping my hair out of my way is a top priority now, and with hair as long as mine is, wearing a ponytail all day can cause bad headaches. That’s why I typically opt to make gravity work in my favor with my hair piled on top of my head :) This really is an easy style that now takes me a minute to do, but it took me a handful of tutorials and some experimentation to figure out a method that works for me almost without fail. Since I’m getting my hair cut shorter than it has been since early college tomorrow (!!), I squeezed in a much-requested top knot tutorial over on Instagram Stories the other day, but I wanted to post the instructions here too for easy reference. You can also find the video version in my Instagram Story Highlights.
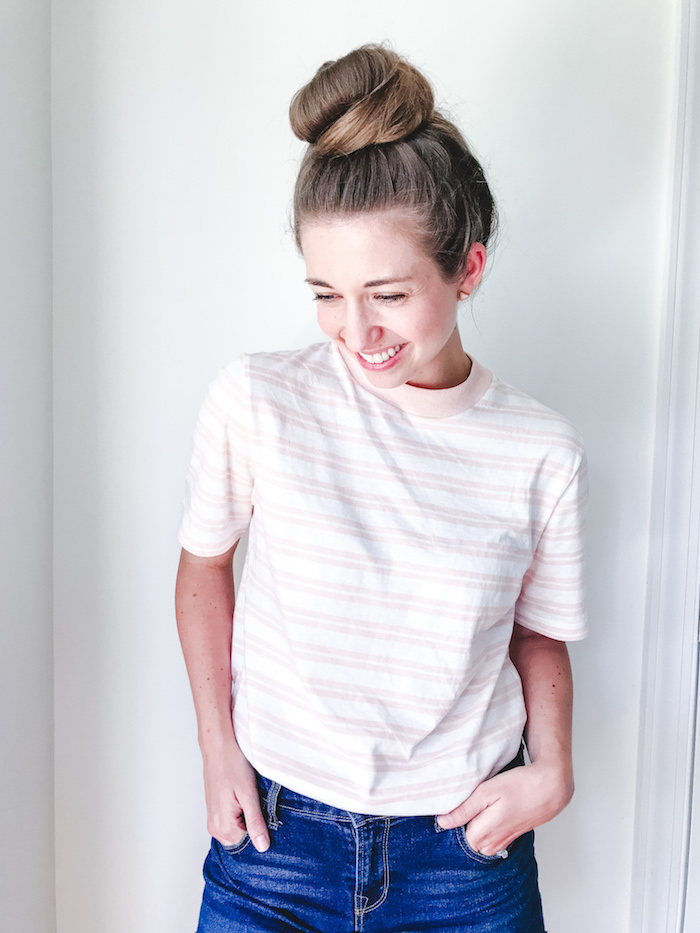 Peach striped shirt, denim shorts, triangle earrings, lip balm
1. Gather hair into a high ponytail on the spot where you want your top knot. I didn’t have a system for the placement until one day when I had it in the perfect spot, so I “measured” and realized it was one finger-length back from my hairline. Don’t secure it with a hair tie yet–just hold it in place. (If your hair is on the thin side, try teasing (back-combing) your ponytail with a teasing comb or round bristle brush to add some volume.)
2. Twist the ponytail and wrap it around once to start the bun. After wrapping the twisted hair around once, don’t twist it for the outside wrap-around–instead, just wrap the ponytail as is. This will keep your top knot from looking too tight or severe. Note: when my hair is really long, I have to wrap it three times–twice twisted and once not. As long as the outside is not twisted, you should be good to go!
3. Secure the bun with a hair tie. Make sure you use one that isn’t too small (I’ve snapped many during this step) or too big (or your top knot won’t stay put).
4. Tug a little bit of hair at the crown to create a touch of volume, if you would like.
5. Use two spin pins–one on the left of the bun and one on the right–to secure the bun in place, close the gap caused by your hair tie, and anchor the bun to the top of your head. These things are amazing–I read somewhere that one serves the purpose of 50 bobby pins?! I’m not sure if that’s an exaggeration, but I do love them. I use the regular size but they also come in a mini version.
6. Use regular bobby pins to secure any pieces sticking out or close any other big gaps. I like my top knot to look a little imperfect, so if I feel like I need more than two or three bobby pins in this step, I’ll probably start over.
7. Spritz on a touch of your favorite hairspray, especially the hair on the back of your head that may be prone to flyaways. I use this one.


Remember when I used to wear my hair in a ponytail every single day until I basically graduated from high school?
I do, and it drove me nuts, ha!