

One room in our house is pretty much done–yay! Almost every space requires a few furniture purchases that we’ll be taking our time on, so when you think about it that way, it makes sense that the first “finished” room is a bathroom. No furniture needed :)
We’ll be hosting lots of house guests over the coming months, so we were eager to get this bathroom (which connects the main living area with the guest room) in order. Like most of our house, there wasn’t anything hugely problematic about it; it just wasn’t our style. Think taupe walls, a big cabinet above the toilet that made the room look even darker, and a dark brown-framed mirror. We bought darling Urban Walls tangerine wall decals over the summer to use in our old house’s laundry closet, but never got around to applying them before we moved–I’ve never been so grateful to have procrastinated on something! With this and this at the forefront of my mind as inspiration, we were able to make some quick changes with big impact. Here’s a peek!
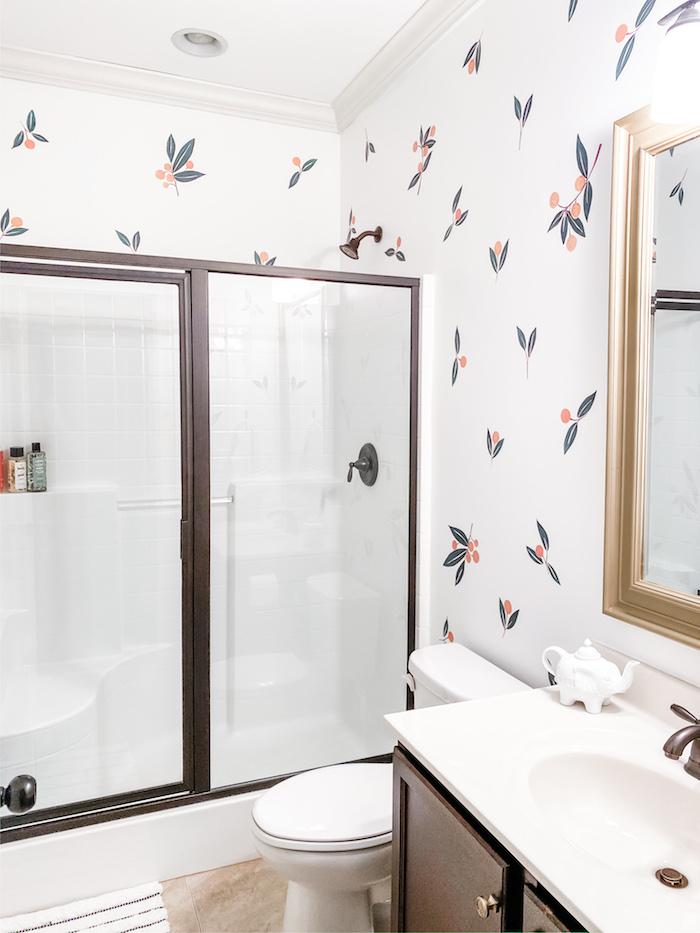
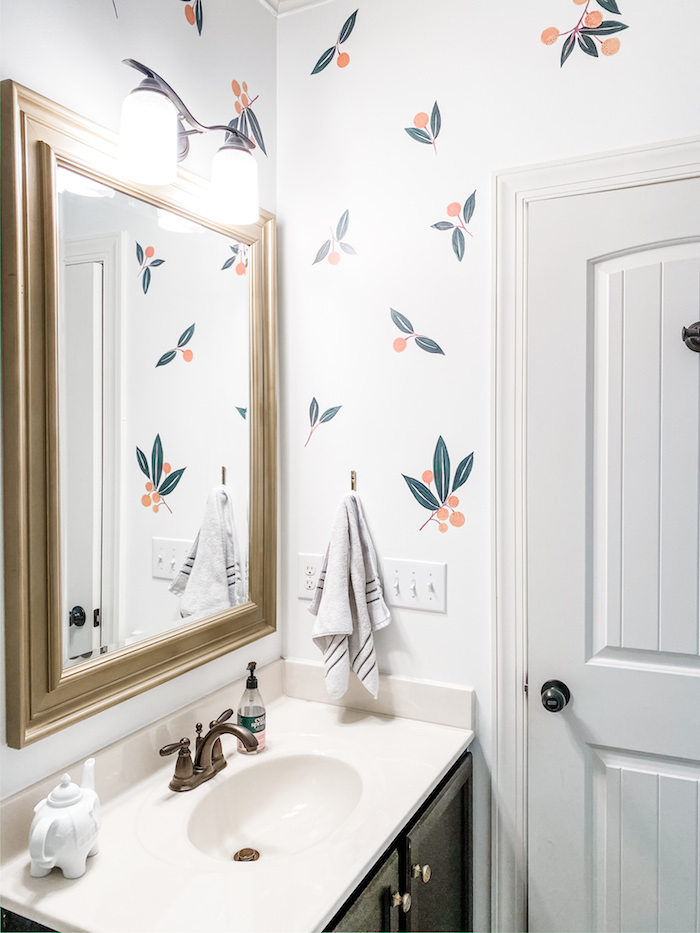
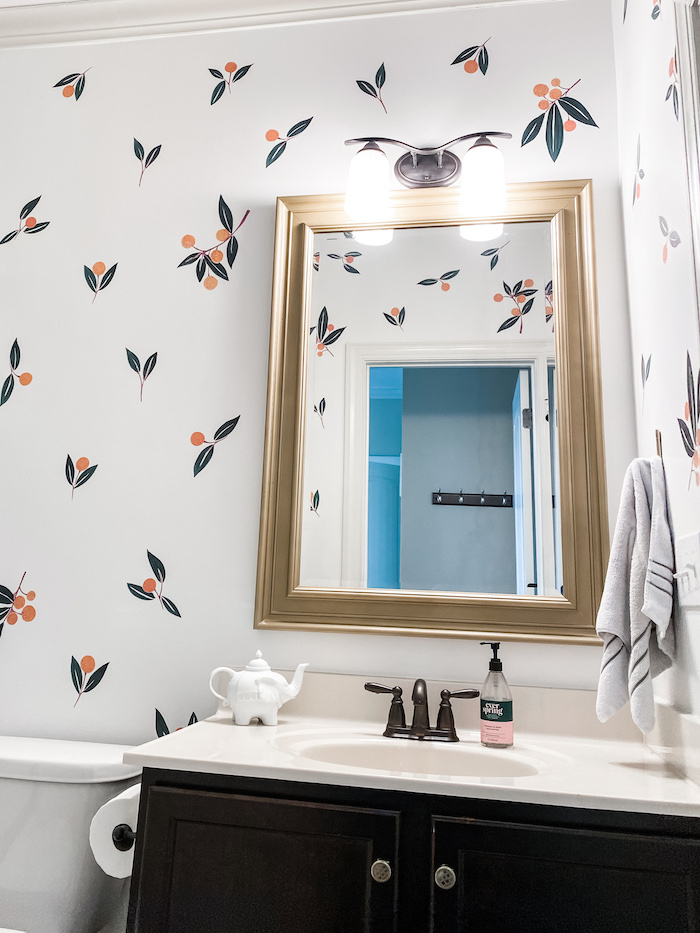

First things first, we took down the big cabinet, towel hook, and mirror. We considered buying a new mirror, but instead, I decided to try spray-painting the existing one gold first. It’s not perfect, but does the trick and saved some money. Dave then painted the walls in our go-to white (Benjamin Moore Chantilly Lace) and put the mirror back up, along with a sleek ($5!) gold towel hook. We waited about a month for the paint to cure, and then last weekend, I added the decals. Happily, they were incredibly easy to apply and I LOVE the way it turned out. Here are a few tips that worked for me:
– For a set like this with multiple designs in it, sort them out ahead of time and then group them evenly.
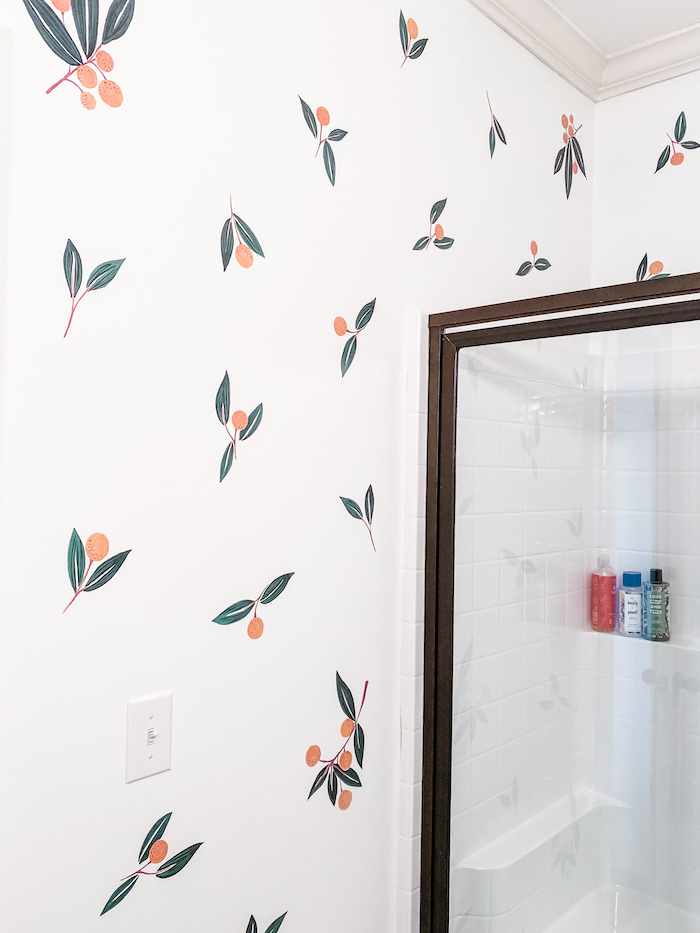
– Use painter’s tape or washi tape to arrange the layout on the wall, starting with the largest of the designs and arranging the others around it. Using the previously separated-out groupings helped ensure I didn’t have too many of the same decals in one spot.
– Pay attention to the spacing (it should all be about even) and the direction of each decal (I think this design looks best with decals pointing in a variety of directions for a more organic, natural look). I eyeballed this one, but you might need to use a ruler for a more geometric design.
– The application is a lot like a temporary tattoo. Use a clean squeegee to make sure every corner is applied before slowly peeling back the outside paper.
I used two sheets of the decals and it took me about two and a half hours…though keep in mind, I was moving really slowly up and down the ladder ;) It was so easy, I’m tempted to add decals to way more places! Since they’re removable, they’d also be perfect for a rental.
Eventually, we plan to paint the cabinet (maybe black!) and switch out the faucets and other hardware. Since we’ll hopefully update all the bathroom hardware throughout the house in one fell swoop though, that’s tabled for a couple of years. In the meantime, we’re so happy with how these relatively quick and inexpensive updates turned out.
Next room on the list: finishing up the nursery!!


Wow! Those turned out really nice! Love this idea. Great job!
Thanks so much! I was surprised by how easy it was!
It looks so sweet!! I love it!
Be sure to use the bathroom when you come over, haha! :)
This looks awesome! I would have for sure thought it was wall paper – great to see that wall decals can have such an effect!
Agreed! I’m sure the decal quality factors into that but we couldn’t be happier with how these Urban Walls ones look :)
Cute!!!
I feel like I could see you using these in your house someday!